Study the dark shape
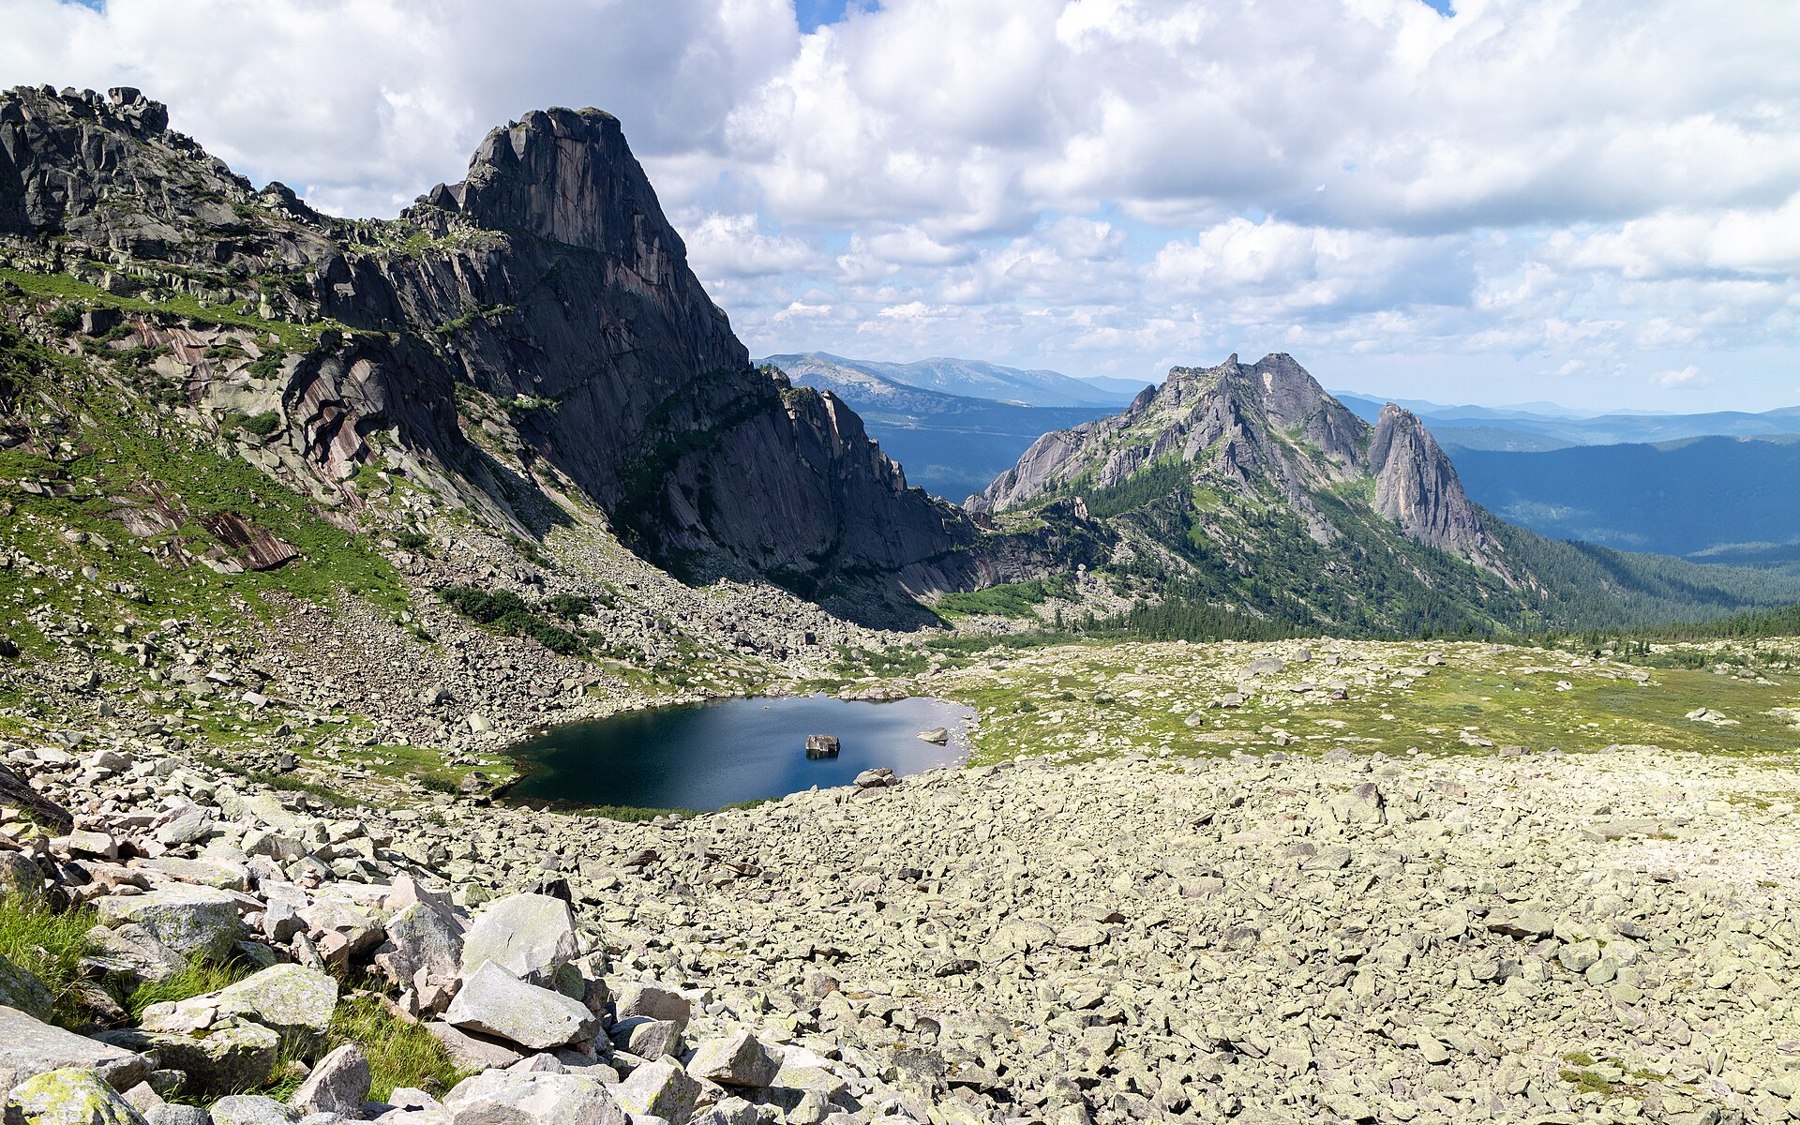
When a landscape contains a bright surface, the eye readily chooses it as the main subject. The dark area beside it seems merely a background that needs lightening. Try looking at it as a shape in its own right. A shadow has an edge, a direction, variations within it and connections to neighbouring objects. It can divide a slope, unite several stones or make a pale strip especially noticeable. Squinting can briefly hide the finer details and help you see how much of the view this shape occupies.
A tree beside a path, a wall near an open space or a familiar slope in the distance is enough for this exercise. Choose a stable spot away from cliffs and scree; do not look directly at the sun. What matters is being able to see the lit and shaded areas at the same time. Study them in turn, then together. The dark patch may have a narrow extension you missed at first glance, or a bright break within it. Follow where it ends and which objects it includes.
Follow the boundary
Choose one boundary between light and dark and slowly trace it with your eyes. Where is it straight, where does it turn, where does it almost disappear? Does it follow an object’s edge or cross its surface? Try sketching just this line, without adding the mountain, tree or sky. A sketch makes it especially clear where the line remained uncertain. If your hand stops, look back at the scene and see which change in shape you missed.
Then add another line from the landscape itself: a shore, a ridge or the edge of a trail. Compare their directions. Do they reinforce each other or cross? Do they form a narrow wedge or a broad, quiet expanse between them? Mark the intersection on your sketch and compare the areas on either side. One might be full of detail, the other almost empty. Moving the intersection closer to the edge of the frame changes the balance of these areas. Try both versions from the same spot.
What to leave dark
A camera and the eye may render the bright and dark parts of a view differently. After taking a photograph, check both ends of the range: have important details disappeared in the bright area, and is there enough information left in the shadow? On a phone, try adjusting the exposure slightly with the available slider. Watch a specific detail: the edge of a cloud or the lit surface of a stone. If the texture of the dark slope is not the subject of the photograph, you do not have to bring it out until it is as prominent as everything else.
When editing, compare two versions: one with the original shadow and one with it slightly lightened. Watch its edge. If the dark shape breaks into separate details after the adjustment, the overall pattern of the frame has changed too. This is especially noticeable when a shadow unites several stones or trees. Then check the bright area: does it still hold the texture you wanted to photograph? Reduce the image to the size of a small postcard and look again at the balance between the large patches of tone.
Watch change without rushing
If conditions allow, stay a little longer and compare the view again. Use fixed landmarks: the edge of a stone, a tree trunk, a bend in the shore. Almost everything may be as it was: the dark shape still connects two slopes, the small bright patch is still separate from the rest of the scene. If the boundary has moved, mark its old and new positions on your sketch. Two lines make the change easier to understand than a memory of the entire landscape.
Leave yourself a simple task for your next walk: take one photograph whose main subject is the boundary of a shadow. Choose a frame that shows the transition and leaves enough surface on both sides of it. Then caption the image with one sentence describing its structure. For example: a jagged dark band crosses a pale slope and ends at the water. You can place a sketch of the same line beside it. Compare which bends you remembered accurately and which turned out quite differently in the photograph.